Your first wine kit, start to finish
A walk-through for the most common 6-week kit — the kind that ships with juice, yeast, additives, and a thin instruction sheet. From the moment the box hits your doorstep to the moment you pour a glass.
Want to see where each step lands? Open the timeline →
- 1.Day 1 — Morning
Sanitize everything
Cleanliness is the whole game.
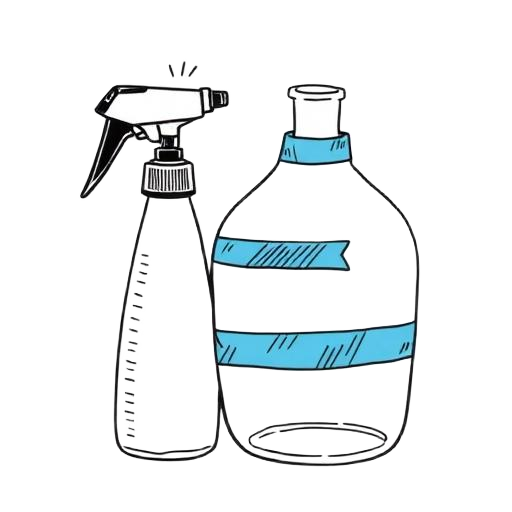
Mix your sanitizer (we use Star San — one tablespoon to a gallon of water) in a clean spray bottle and a small bucket.
Spray or dunk every single thing that will touch the wine: primary bucket, lid, airlock, spoon, hydrometer, thief, and your hands.
Don't rinse — sanitizer foam is harmless and dissipates on its own.
- 2.Day 1
Mix the juice
Pour, top up, and stir.
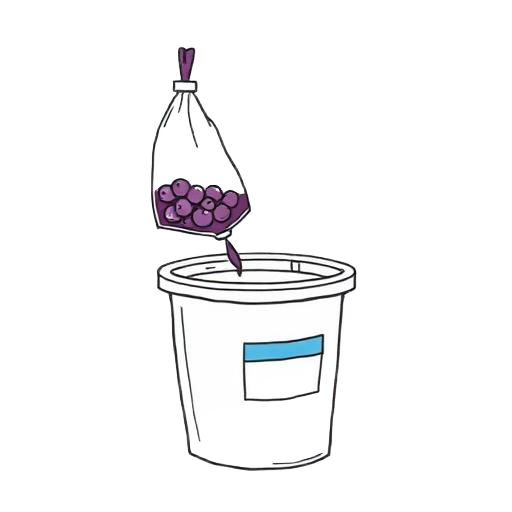
Snip the corner of the juice bag and pour the entire contents into the primary bucket.
If your kit includes an oak pack, skin pack, or bentonite, add it now per the instruction sheet.
Top up with cool, clean water to the volume marked on the bucket (usually 6 gallons).
Stir vigorously for a couple of minutes to make sure everything is fully mixed and oxygenated.
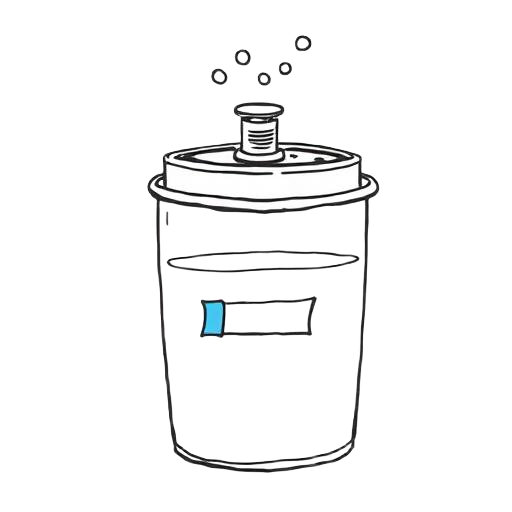
- 3.Day 1
Take a starting hydrometer reading
Write it down — it tells you when fermentation is finished.

Sanitize your hydrometer and the test cylinder (or wine thief).
Draw a sample of must, drop the hydrometer in, and read the line at the surface of the liquid.
Write the number on a strip of blue painters tape and stick it to the side of the bucket. This is your starting gravity.
📏 Starting SG ~1.090
- 4.Day 1 — Evening
Pitch the yeast
Sprinkle, lid, walk away.
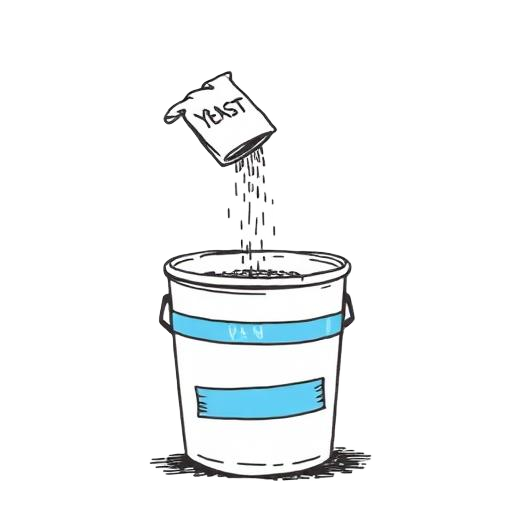
Open the yeast packet and sprinkle the entire packet across the surface of the must — don't stir.
Snap on the lid and push the airlock into the grommet. Fill the airlock halfway with water or sanitizer.
Move the bucket somewhere it can sit at 65–75°F, undisturbed, for the next week.
- 5.Days 2–10
Let primary fermentation happen
Bubbles in the airlock = it's working.
Within 24–48 hours you should see the airlock bubbling steadily. That's CO₂ — exactly what you want.
Don't open the lid. Don't peek. The CO₂ blanket is protecting your wine.
By around day 7–10 the bubbling slows to roughly one bubble per minute. Time to rack.
- 6.Day 10
Rack to the glass carboy
Get the wine off the dead yeast.
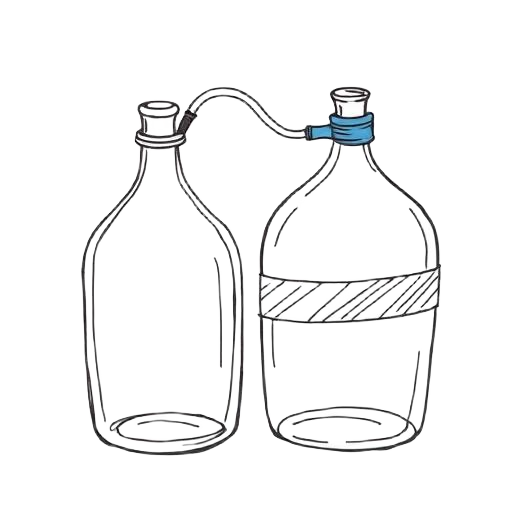
Sanitize the carboy, the siphon, and the tubing.
Set the bucket on a counter and the carboy on the floor. Start the siphon and let gravity do the work.
Stop just before you pull up sediment. Top the carboy up to the neck with cool water, attach a sanitized airlock, and move it to a cool dark spot.
📏 Should read ~0.996
- 7.Day 24
Degas and stabilize
Stir out the CO₂, lock the wine in.
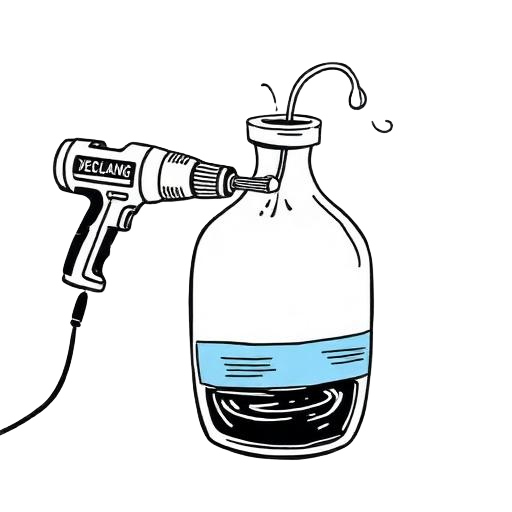
Add the potassium metabisulfite and potassium sorbate packets from the kit.
Attach the degassing whip to a drill and stir in short bursts. The wine will foam — go slow.
Keep degassing until no new foam rises. This can take 5–10 minutes total.
- 8.Days 25–38
Add fining agents and let it clear
The wait that makes the difference.
Stir in the clearing agents (usually a two-part chitosan + kieselsol).
Re-attach the airlock and leave the carboy alone for at least two weeks.
When you can read a newspaper through the carboy, it's ready to bottle.
- 9.Day 42
Bottling day
Block off an afternoon. Invite a friend.
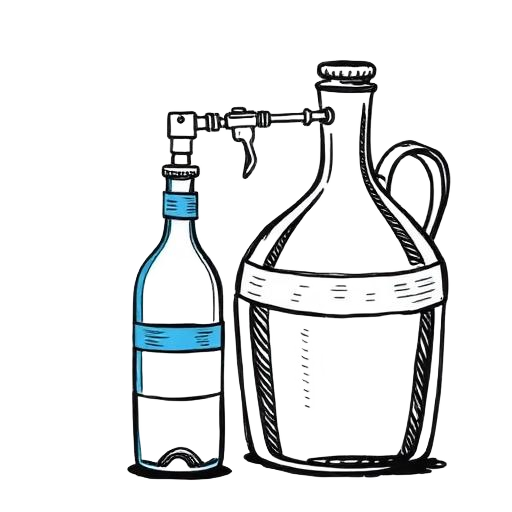
Sanitize 30 wine bottles, the bottle filler wand, and your corker.
Siphon the wine from the carboy into the wand. Press to fill each bottle to about an inch from the rim.
Cork immediately. Stand the bottles upright for 24 hours, then lay them on their side.
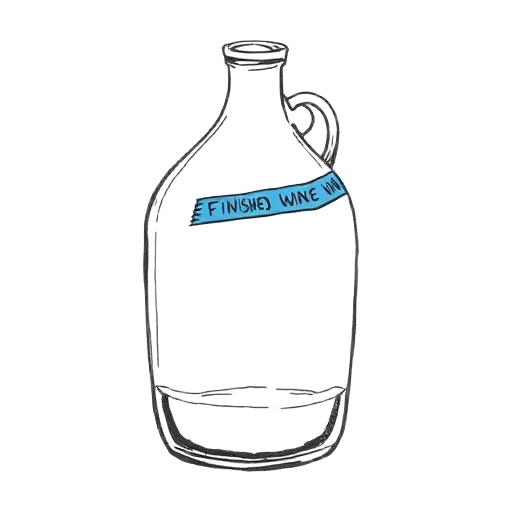
Label with a strip of blue painters tape and a sharpie. You can get fancier later.
- 10.Months 2–6
Rest and enjoy
Drinkable now. Better in two months.
Drink one tonight to celebrate. The rest go on their side somewhere cool and dark.
Reds noticeably improve with 2–3 months of bottle age. Whites are usually ready sooner.
Open one a month and take notes — that's how you learn what your kit can do.