4-week kit vs 6-week kit
Same basic process, different pace. The 4-week kit is your fast, friendly weeknight wine. The 6-week kit gives you body, structure, and aging potential. Pick the one that matches your patience.
About 4 weeks to bottle
Fast, friendly, easy-drinking everyday wine. Perfect first kit if you just want to see the whole cycle.
 Day 1 — Morning
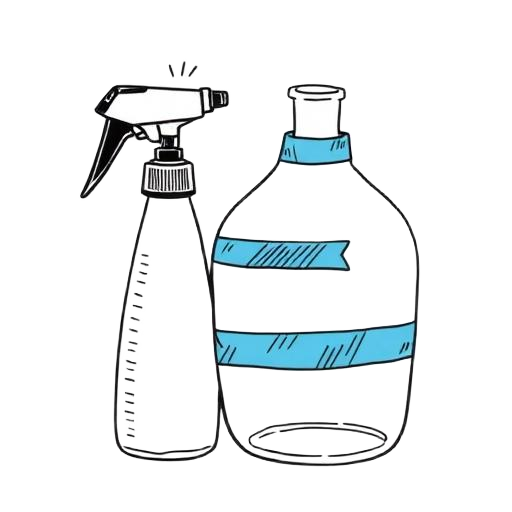
Sanitize everything
Mix your sanitizer and hit every surface that touches juice — bucket, lid, airlock, spoon, hydrometer.
 Day 1
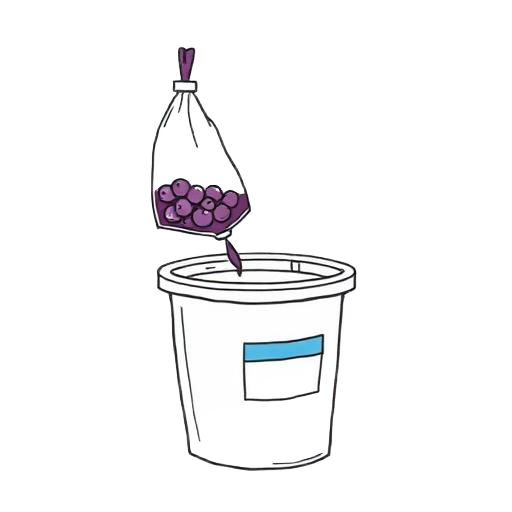
Day 1Mix the juice
Pour the juice concentrate into the primary bucket and top up to the line with cool water. Stir well.
 Day 1 — Evening
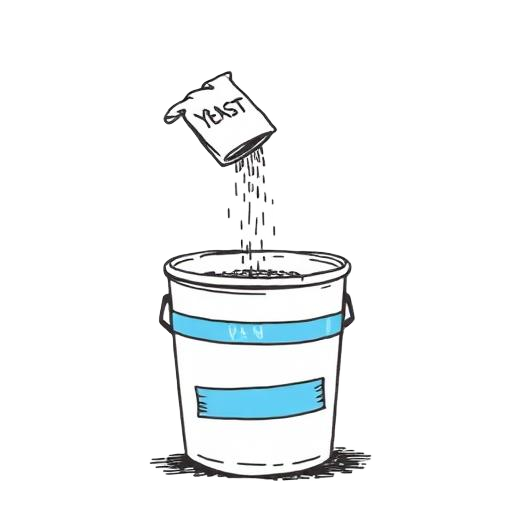
Pitch the yeast
Sprinkle the yeast packet across the must, snap on the lid, and fit the airlock with a little water.
📏 Starting SG ~1.080
 Days 2–7
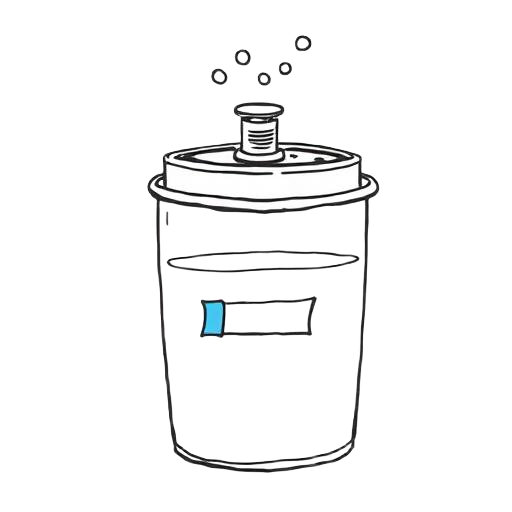
Primary fermentation
Airlock bubbles steadily for several days. Keep the bucket between 65–75°F and don't open it.
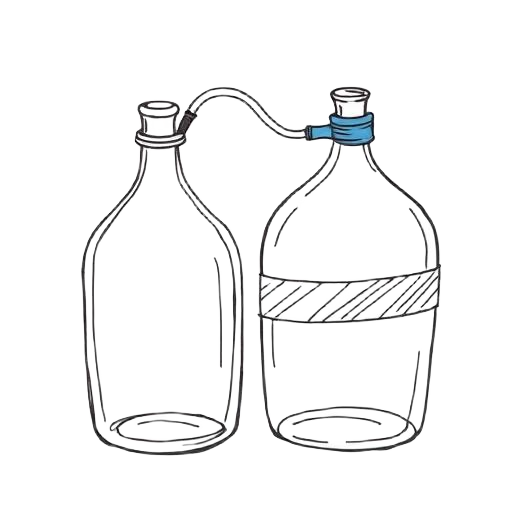 Day 7
Day 7Rack to the carboy
Siphon off the wine, leaving the dead-yeast layer behind. Top up to the neck and re-attach the airlock.
📏 Should read ~0.998
 Day 14
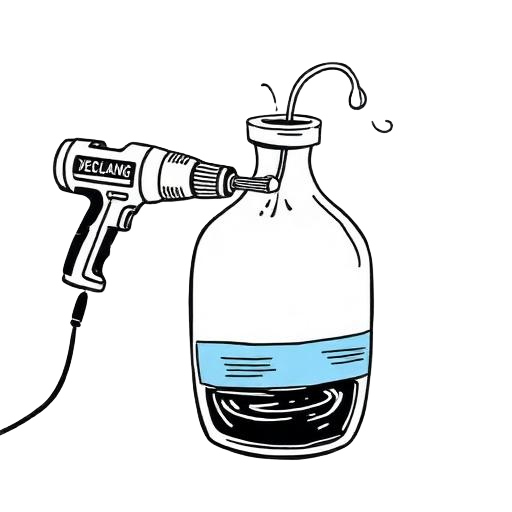
Degas & stabilize
Add the included stabilizers, then degas with a stirring whip until no more CO₂ rises.
 Days 15–21
Add fining agents & clear
Stir in the clearing agents and let the wine sit. By the end of the week it should be brilliantly clear.
 Day 28
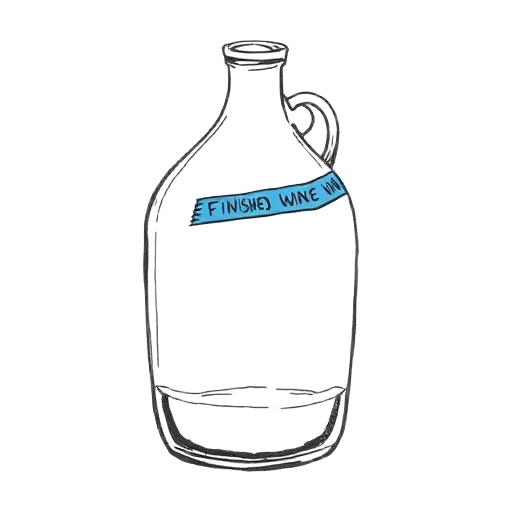
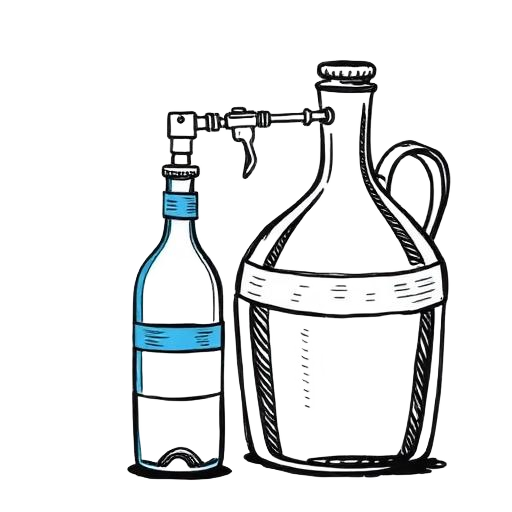
Bottle day
Sanitize bottles, fill with the spring-tip wand, cork, and label with the time-honored blue tape.
 Week 5+
Short rest
Drinkable right away, but a week or two on its side smooths everything out.
About 6 weeks to bottle
More structured reds and whites with extra body and aging potential. The version we usually make.
- Day 1 — Morning
Sanitize everything
Same drill — sanitize every tool and vessel you'll touch. The cleaner the kit, the cleaner the wine.
- Day 1
Mix the juice & additives
Pour the juice into the primary, snip in any included oak or skin pack, and top up to volume.
 Day 1
Day 1Take a starting reading
Drop the hydrometer into a sample of must and write the number on a strip of blue tape.
📏 Starting SG ~1.090
- Day 1 — Evening
Pitch the yeast
Sprinkle the yeast across the surface. Don't stir it in — just lid and airlock.
- Days 2–10
Primary fermentation
Vigorous fermentation for 5–7 days, then it slows. Stir gently each day if the kit calls for it.
- Day 10
Rack to the carboy
Siphon off into the glass carboy. Top up with water or matching wine to keep oxygen out.
📏 Should read ~0.996
- Day 24
Degas & stabilize
Add sulfite and sorbate, then degas thoroughly. Skipping this leaves the wine fizzy.
- Days 25–38
Fining & extended clearing
Add clearing agents and let it sit two more weeks. Patience here pays off in the glass.
- Day 42
Bottle day
Sanitize 30 bottles, fill, cork, and tape-label. Plan a few hours and a friend.
- Months 2–6
Cellar & rest
Lay the bottles on their side. Most 6-week reds get noticeably better with 2–3 months of rest.