May 13, 2026 · 8 min read
You don't need to buy bottles. You need an empty bathtub, a box of OxiClean Free, and a Saturday. Here's the soak-and-strip ritual we learned from Mark — and the modern updates that make it easier.
Bottling day is coming. You need thirty empty 750 ml wine bottles, clean and sanitized, by Saturday. You can buy them new for about a dollar fifty apiece — or you can do what we did the first time, and the dozen times after that, and reuse the bottles you already drank empty over the last few months. The wine doesn't know the difference. Your wallet does.
This post is the practical version of a ritual every home winemaker eventually develops: collect, soak, peel, scrub, sanitize. We'll walk through Mark's original bathtub method (which is where we learned it), the modern homebrew-shop version (which is gentler and easier to rinse), and the small handful of things that will save you an afternoon of cursing at a label that will not budge.
Why reuse bottles at all
Three reasons. One, money — thirty new bottles is forty-five dollars you could spend on a kit upgrade. Two, the planet — those bottles already exist, and the embodied energy in making new glass is significant. Three, and we'll be honest, this is the real one for us: there is something deeply satisfying about a shelf of wine you bottled in glass that used to hold somebody else's wine. The bottle had a life before yours. Now it has another.
What to collect (and what to skip)
Not every empty wine bottle is a candidate. Before you start hoarding, sort them.
Yes / no on the bottle
- Standard 750 ml bottles with a cork-style neck (the lip should be smooth, not threaded)
- Bordeaux-shape (straight-shouldered) or Burgundy-shape (sloped) — pick a shape and be consistent if you want pretty cases
- Punted bottoms are nice — they sit better in cases and look more 'finished'
- Screw-top bottles. The neck is threaded and won't take a cork cleanly. Recycle them.
- Decorative or oversized bottles that won't fit your floor corker
- Anything with a chip on the lip — it'll leak past the cork no matter how perfect your seal is
The single best habit you can build right now, before you've made a single batch: rinse every empty bottle with hot water the moment you finish pouring it, then store it inverted. Five seconds. No dregs dry to the inside of the glass. No fruit-fly motel forms in the bottom of the bottle. Future you will thank past you about a hundred times.
Mark's bathtub method (where we learned this)
When my wife and I made our first batches at Vine to Wine — a small make-your-own-wine shop in Northville, Michigan, run by a guy named Mark — he gave us the same homework before every bottling night: bring thirty clean, sanitized, empty wine bottles. The first time, we didn't know what that meant. So Mark told us.
“Fill the bathtub with warm water. Add a little bleach. Drop the bottles in standing up so they fill, lay them down so they soak. Let them sit overnight. The labels will float off, and the inside gets sanitized at the same time.”
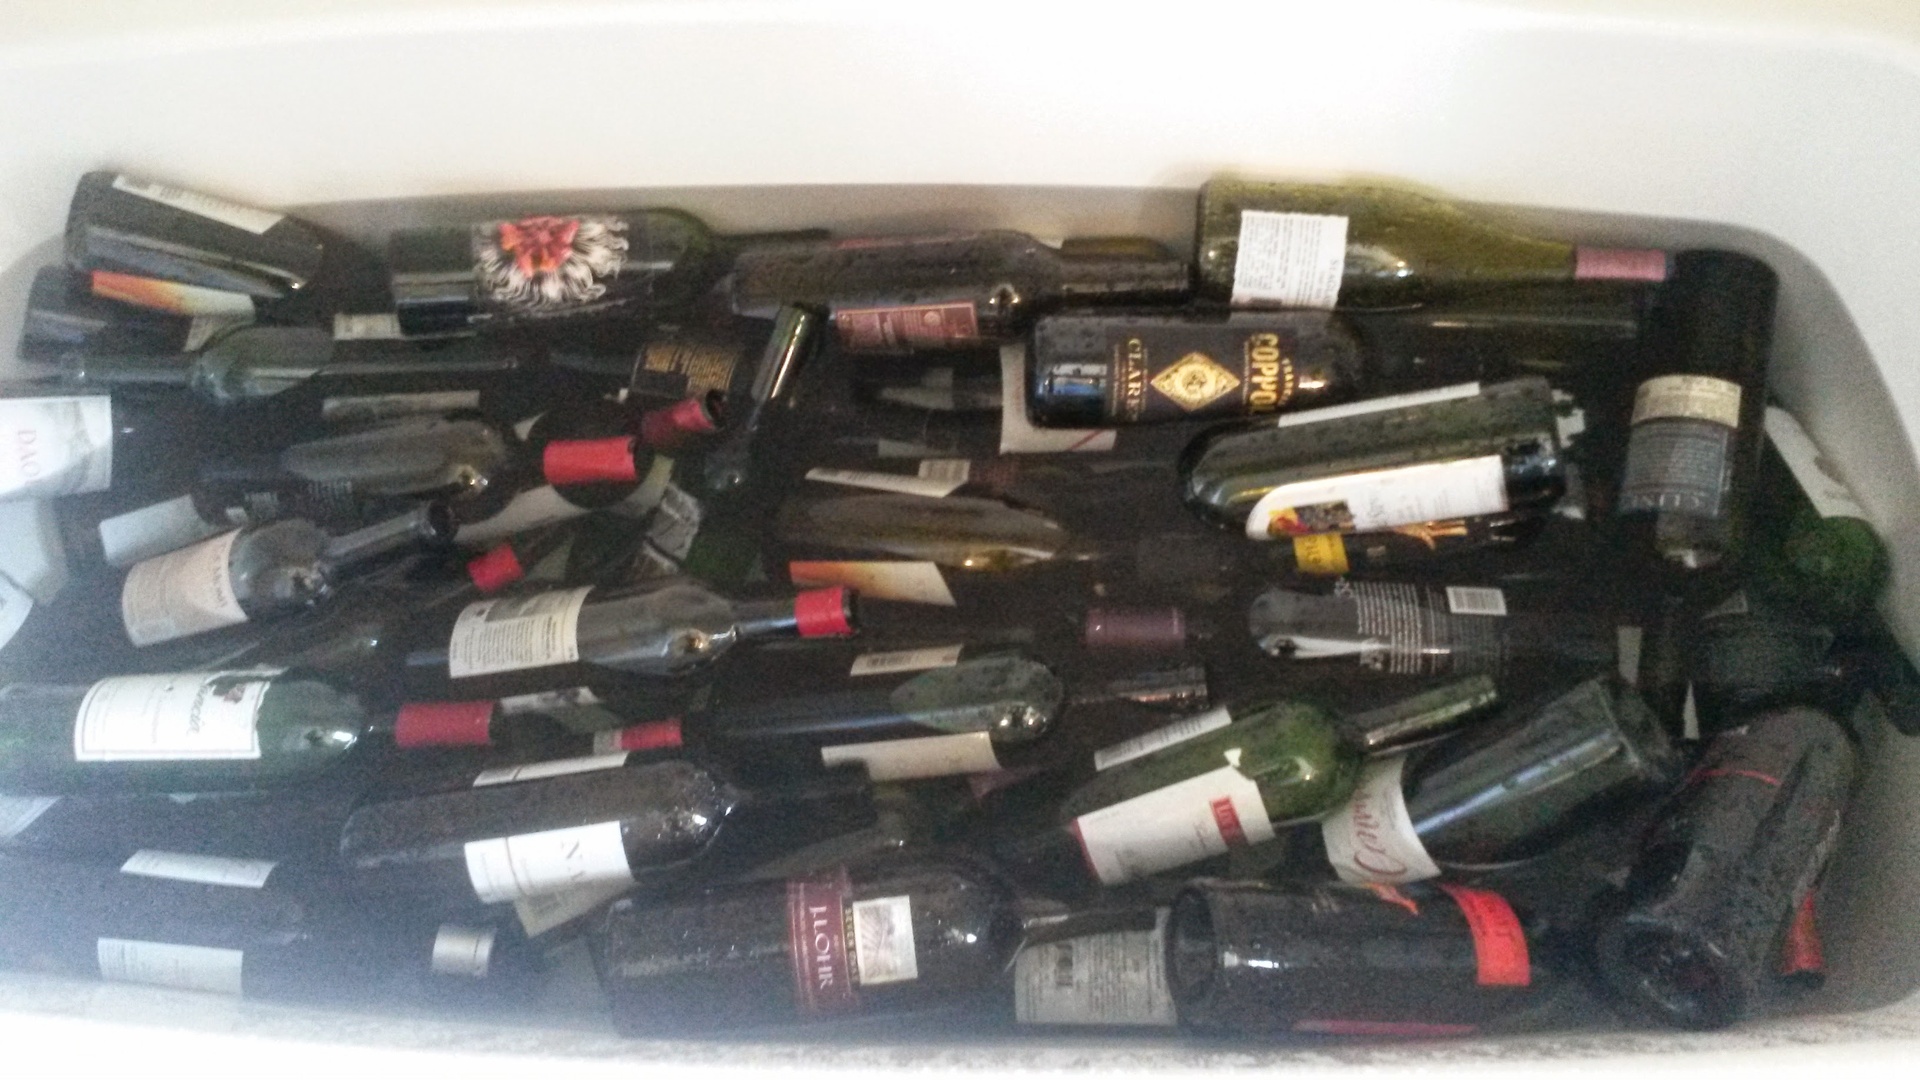
And it worked — mostly. Some labels slid off in one piece. Some came off in three angry pieces and a layer of glue we had to scrape with a fingernail. The bleach handled the funk inside the bottles. The bathtub stayed slightly tinted for a day. My wife was tolerant. The Cabernet was fine.
If you want to do it Mark's way: warm water, about a tablespoon of unscented household bleach per gallon, soak overnight, peel the next morning, then rinse the inside of every bottle until you cannot smell chlorine. The rinse step is the one nobody mentions and the one that actually matters — chlorine residue plus phenolic compounds in wine can produce a flavor called chlorophenol that tastes like a band-aid in a swimming pool. Rinse hard. Rinse again.
What the homebrew world recommends today
Mark's method is fine. The hobby has just gotten a little smarter about it in the last decade. Most homebrew shops will hand you a tub of one of two products and tell you to use that instead of bleach: PBW (Powdered Brewery Wash) or OxiClean Free. Both are sodium percarbonate based — basically a souped-up oxygen cleaner — and they do the label-stripping job better, smell less aggressive, rinse cleaner, and won't pit your stainless equipment if you splash some.
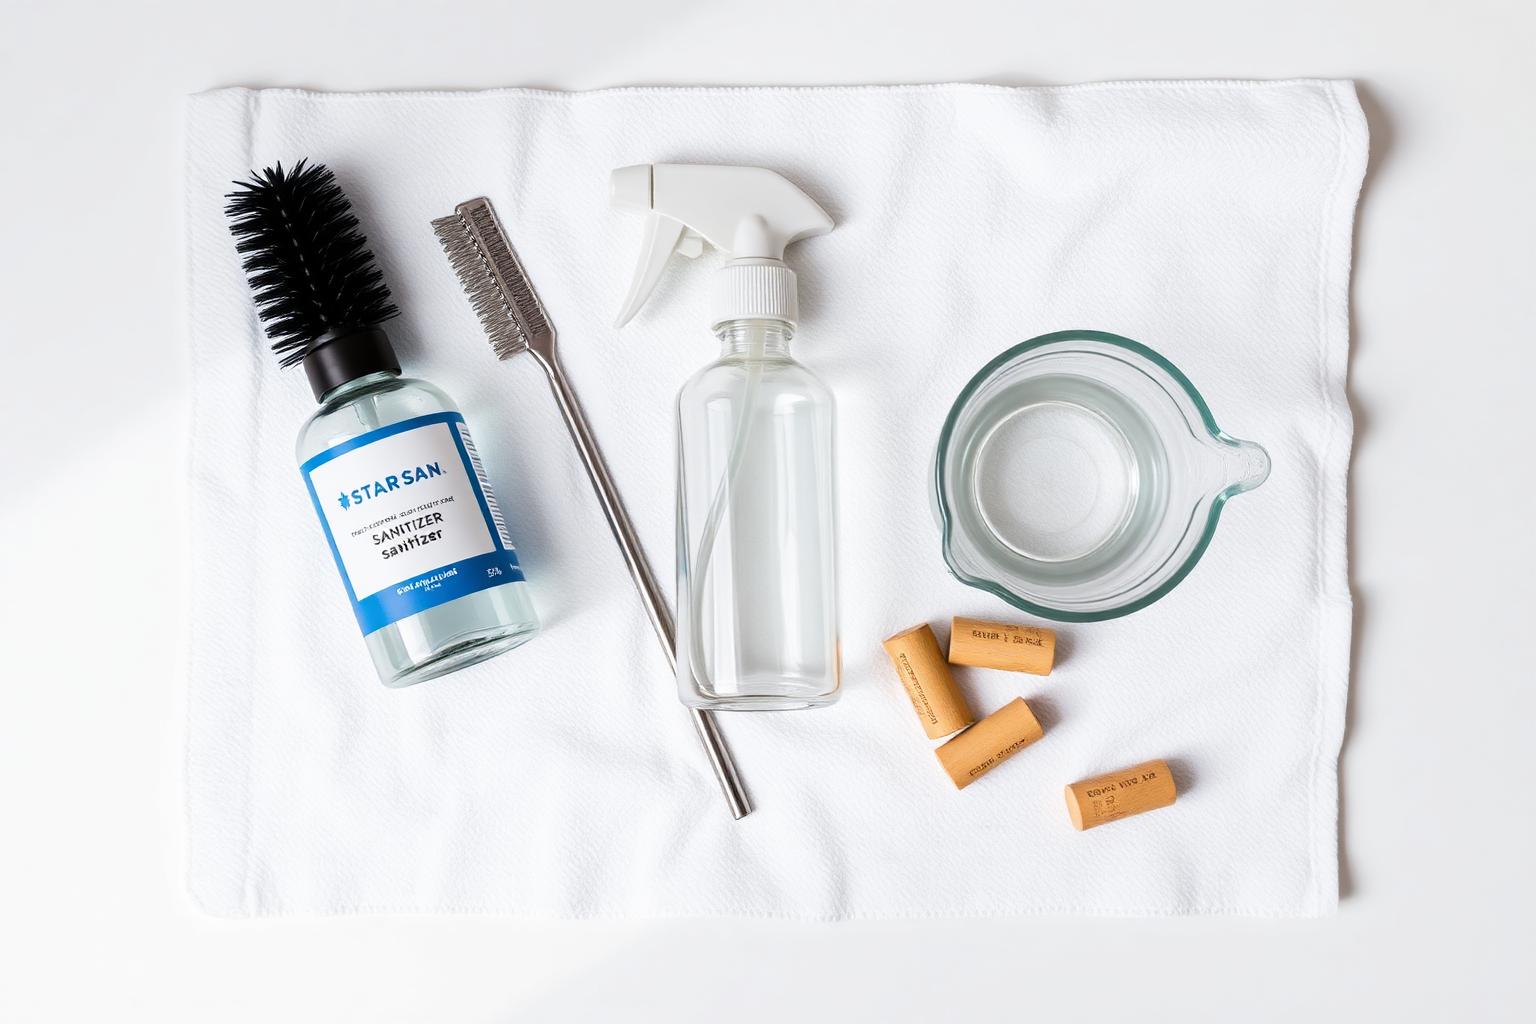
The modern label-and-clean kit
- PBW or OxiClean Free (sodium percarbonate — the workhorse cleaner)
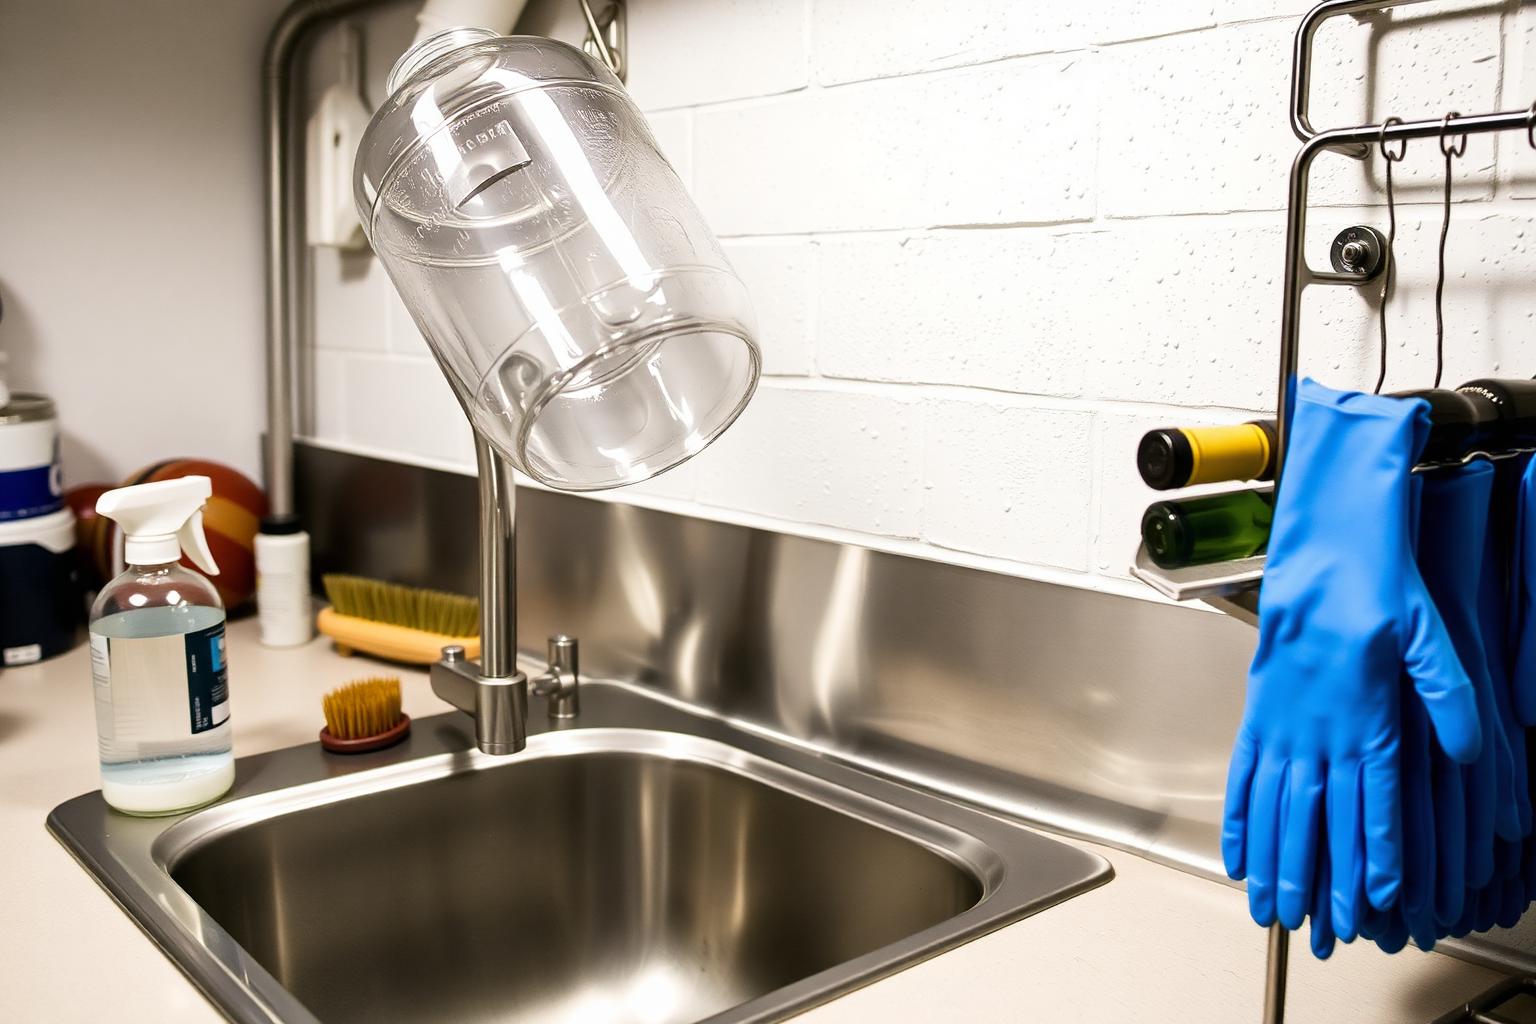
- A bathtub, a big plastic tub, or a deep utility sink
- A bottle brush with a stiff curved end for the punt
- A plastic putty knife or razor blade for stubborn glue
- Goo Gone or a little mineral oil for the worst label adhesives
- Star San, separately, for the actual sanitizing step on bottling day
Dosage is forgiving. About a scoop of OxiClean Free or two tablespoons of PBW per gallon of warm water. Drop the bottles in standing first so they fill, then tip them on their sides so the entire bottle is submerged. Thirty to sixty minutes is enough for most labels. Stubborn ones get an overnight soak.
When you pull a bottle out, the label should be ready to peel. If it doesn't come off in one piece, scrape gently with a putty knife or the dull edge of a butter knife — never a sharp blade if you can help it, because nicks on the inside of a bottle become hairline cracks under the pressure of corking. For glue residue that won't budge, a dab of Goo Gone on a paper towel takes it off in seconds. Wash the bottle again afterward to get the Goo Gone off.
The wines that fight back
Some labels practically self-eject in warm water — many European producers still use water-soluble paste glues, and the label will float off in twenty minutes. Some labels are bonded to the glass with what we can only describe as engineering. Foil-wrapped bottles, plastic-coated labels, and a lot of California producers fall in this second category. For those, a longer soak, a putty knife, and patience. There is no magic trick. There is only time and a soak.
If a bottle is going to take more than ten minutes of personal scraping to clean, throw it in the recycling and move on. You will not run out of wine bottles. Your time is worth more than that.
Clean is not the same as sanitized
This is the part where home winemakers go wrong most often, so we'll be blunt: a bottle you scrubbed and rinsed last weekend is clean. It is not sanitized. Bacteria and wild yeast settle into a clean bottle within hours of it sitting on a shelf. If you fill that bottle with wine on Saturday, you have just inoculated three months of work with whatever was floating around the basement.
On bottling day, every bottle gets sanitized again, immediately before it gets filled. The standard tool is Star San — a no-rinse acid sanitizer that you mix with water in a spray bottle, foam into the bottle, drain on a bottle tree, and fill while still wet. Don't fear the foam. Don't rinse it. Thirty seconds of contact, drain, fill. That's the whole step.
We have a whole separate post on sanitization (linked below) that goes deeper. Read it before bottling day.
A repeatable workflow
Pull this together and the routine for the rest of your winemaking life looks like this:
Bottle prep, start to finish
- Day you empty a bottle: rinse hot, store inverted in a clean case
- Soak day: PBW or OxiClean Free in warm water, 30–60 min (or overnight for stubborn labels)
- Peel labels; scrape glue with a putty knife; spot-treat residue with Goo Gone
- Scrub the punt and inside with a bottle brush
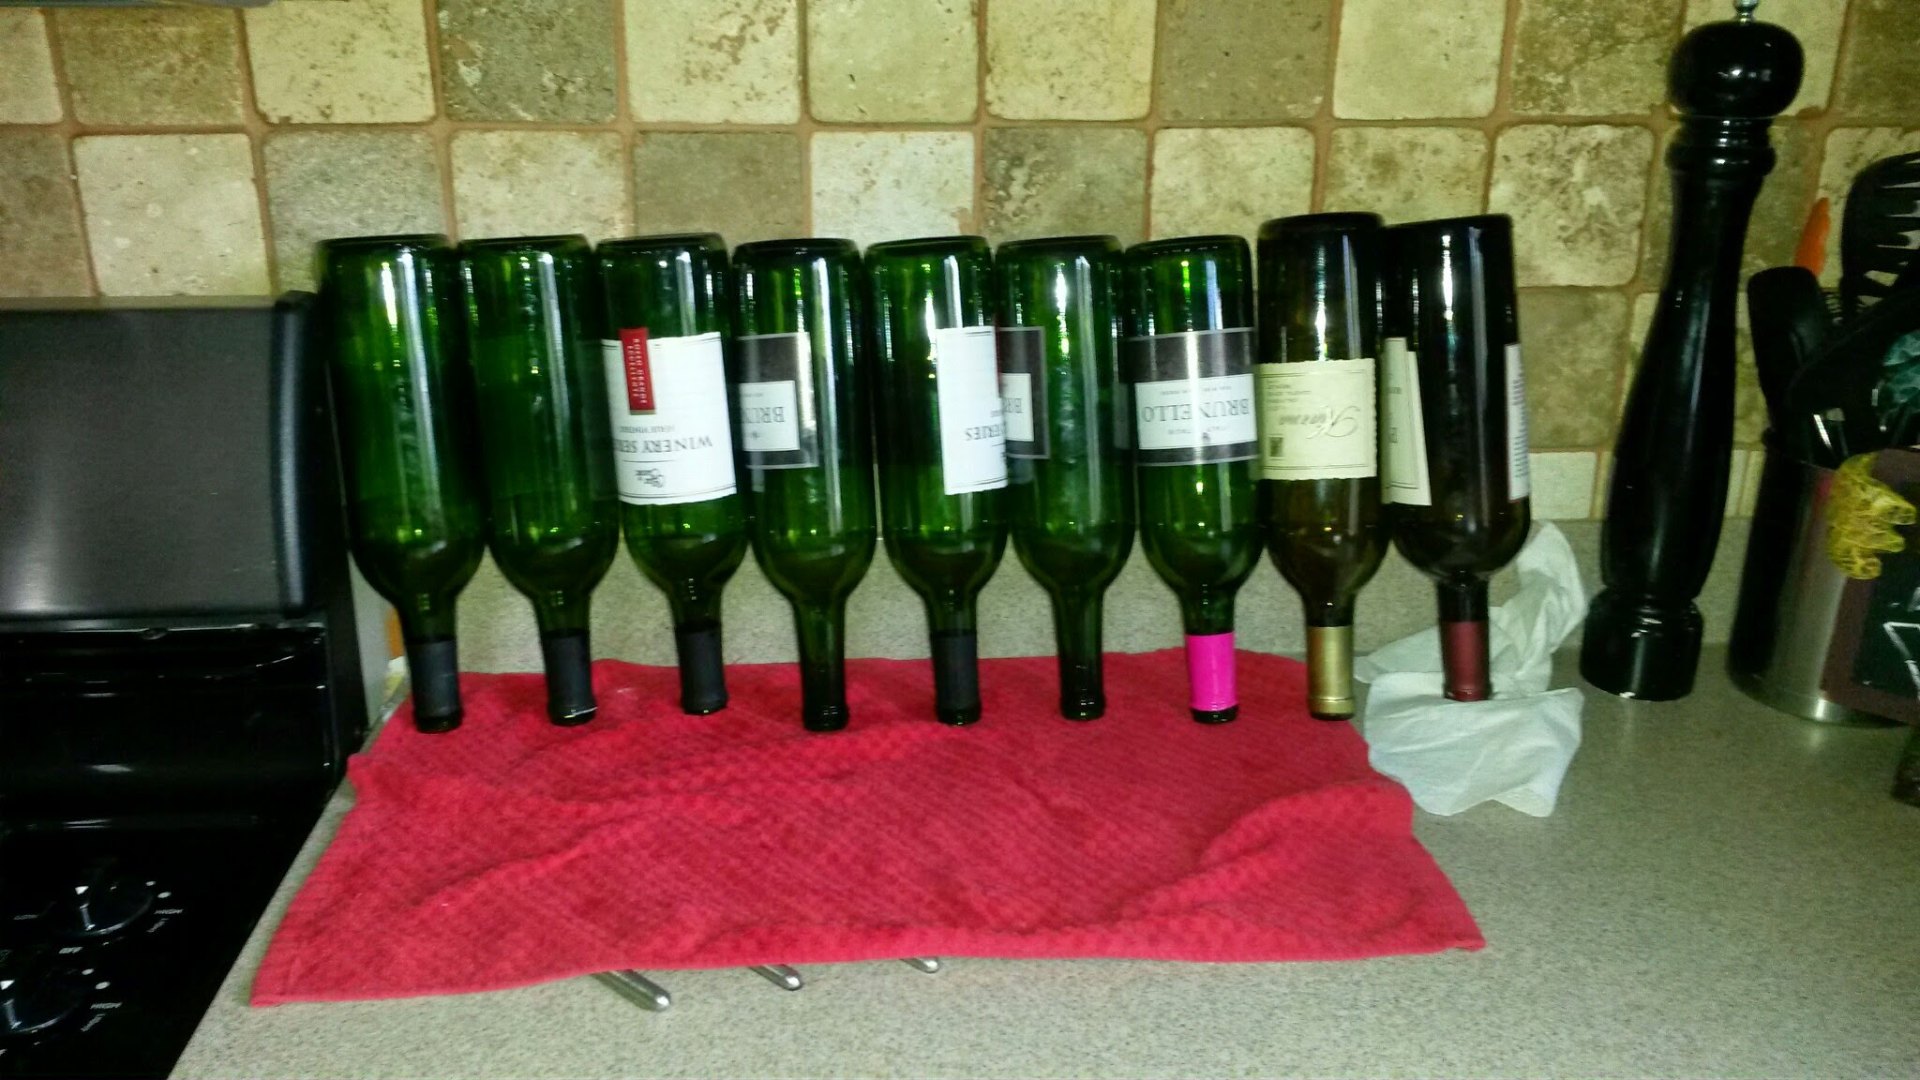
- Final rinse with hot water until water sheets off cleanly with no suds and no smell
- Store inverted in a clean, covered case until bottling day
- Bottling day: spray Star San into each bottle, drain on a bottle tree, fill — do not rinse

What we'd tell a beginner
Start collecting bottles before you start your first kit. By the time the wine is ready to bottle six weeks later, you'll have a head start on a case or two. Rinse them the day you empty them. Sort the screw-tops out immediately. Pick a shape and stick with it so your finished cases look intentional.
And if you'd rather skip the whole bottle-prep chapter on your first batch entirely, find a local make-your-own-wine studio that handles the carboys for you and just hands you a bottling night. We have a directory of those, inspired directly by Mark's shop. The companion post to this one tells the full story of making wine with him at Vine to Wine — that's the next thing to read if you want the origin of every habit in this article.