May 30, 2025 · 7 min read
Corks are small. Corks are simple. Corks will absolutely humble you on a Saturday afternoon.
Bottling day looks easy on paper. You have wine. You have bottles. You have corks. You combine them. The instruction sheet uses the word 'simply' a lot. The instruction sheet has never met a cork on a hot Saturday afternoon in a Pennsylvania garage.
Here is everything we wish somebody had told us about corks specifically, because the wine part of bottling day is the easy part. The corks are where it goes sideways.

Corks are not all corks
There are at least four types you might end up with: natural one-piece (the classic), agglomerated (glued bits, fine for drink-soon wine), synthetic plastic (great seal, terrible feel), and #8 vs #9 sizing. For homemade wine you almost always want a #9 — the slightly fatter one. They seal better against the standard 750 ml bottle neck and they don't try to launch themselves back out at you the way #8s sometimes do.
Get natural #9 corks unless you have a specific reason not to. Aim for medium grade, not premium. Premium corks are for wines you plan to age ten years. Your kit Cabernet does not need a premium cork. It needs a cork that will sit there and do its job for a year while you drink the wine.
Soak them, briefly. Or don't.
Half the internet will tell you to soak corks for an hour before bottling. The other half will tell you that's how you contaminate them. Here is the actual answer: a quick five-minute dunk in clean water with a splash of Star San is fine. A long soak is bad. Bone dry corks straight out of the bag are also fine, especially with a good corker. We've done both. Wine doesn't care.
Whatever you do, do not soak them in wine, in sulfite solution, or in any concoction the internet recommends with three exclamation points. Water and a tiny bit of sanitizer. Done.
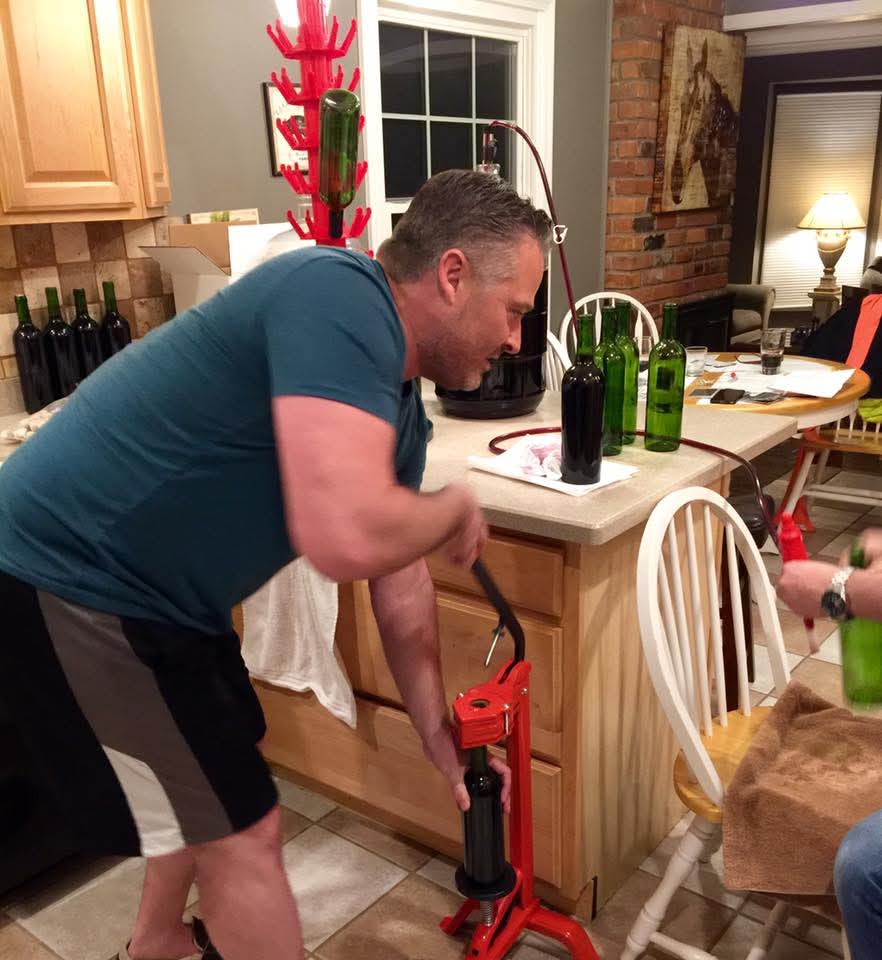
The corker matters more than the cork
If you only listen to one piece of advice from this entire post: rent or borrow a floor corker. The double-handled hand-held kind that comes in beginner kits works the way a butter knife works as a screwdriver — yes technically, no actually. After about bottle eight your hands will hurt, after bottle fifteen the corks will start going in crooked, and after bottle twenty you will be making decisions you regret.
A floor corker turns the entire 30-bottle batch into a 12-minute task. One smooth pull per bottle. Most local homebrew shops will rent one for ten or fifteen dollars for the day. Do this. Do this even on your first batch. Especially on your first batch.
Headspace and how high to fill
Fill to about a half inch below the bottom of where the cork will sit. Not to the very top of the neck. Not 'until it looks full.' A half inch of headspace gives the cork room to compress and seal without forcing wine up around it when you press.
If you fill too high, the corker will push wine straight up out of the bottle when you cork it, the cork will not seat, and you will spend the next thirty seconds explaining to your spouse why there is a Jackson Pollock of Cabernet on the basement ceiling. We are not speaking hypothetically.
“Russ. The ceiling. Russ.”
After the cork goes in
Stand the bottles upright for at least 24 hours, ideally 48. Not on their side. The cork needs time to expand fully and seal before any wine touches it. We learned this the hard way with batch three, when we laid them down immediately and ended up with a dozen bottles that wept slowly for a week.
After 48 hours, lay them on their sides for storage. Now the cork can stay wet, and the seal stays good for years. Standing storage long-term lets the cork dry out and shrink. Either lying down or upright for the short term — pick the right one for the right moment.
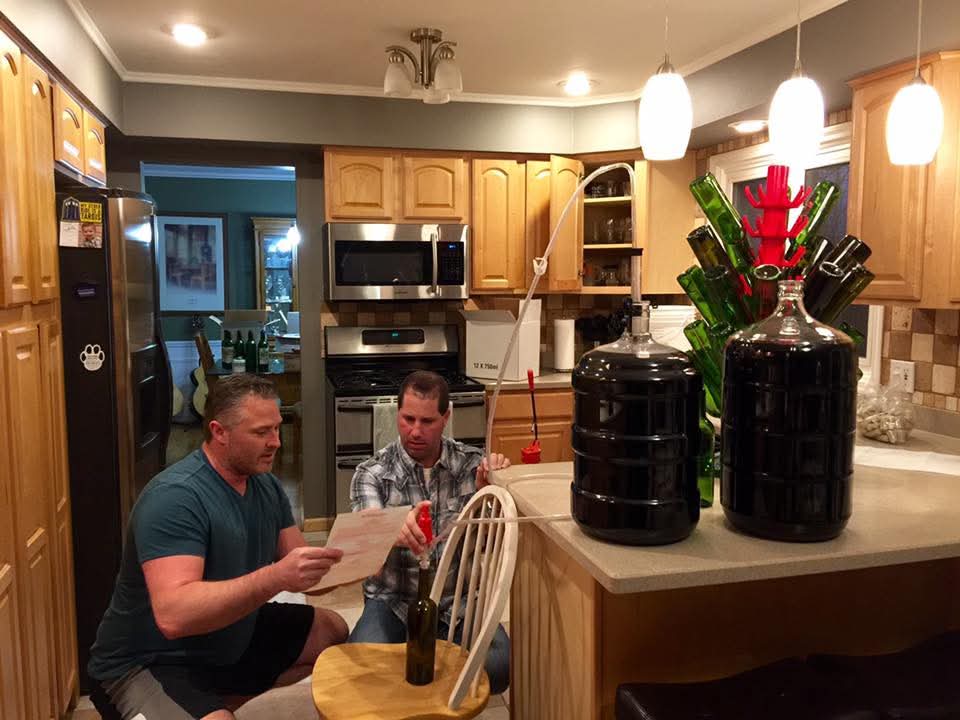
The thing that's actually hard
Honestly, the hardest part of bottling day is not the corks at all. It's the cleanup. You will have wine on every horizontal surface within ten feet of the corker. Spread an old sheet on the floor before you start. Have a bucket of Star San water within arm's reach for everything you touch. Keep a wet towel on the workbench.
Bottling day takes about three hours from setup to cleanup for thirty bottles. Most of that is the cleanup. Plan accordingly. Do not bottle on a day you also have dinner plans.